No products in the cart.
Even though the process of using our Silk Screen Stencils is super easy – one has to follow the steps below to have the best outcome. If you are unsure about using the stencil or it is your first time – be sure to practice on a piece of paper or surface a couple of times before committing to the final piece of art – practice makes perfect!
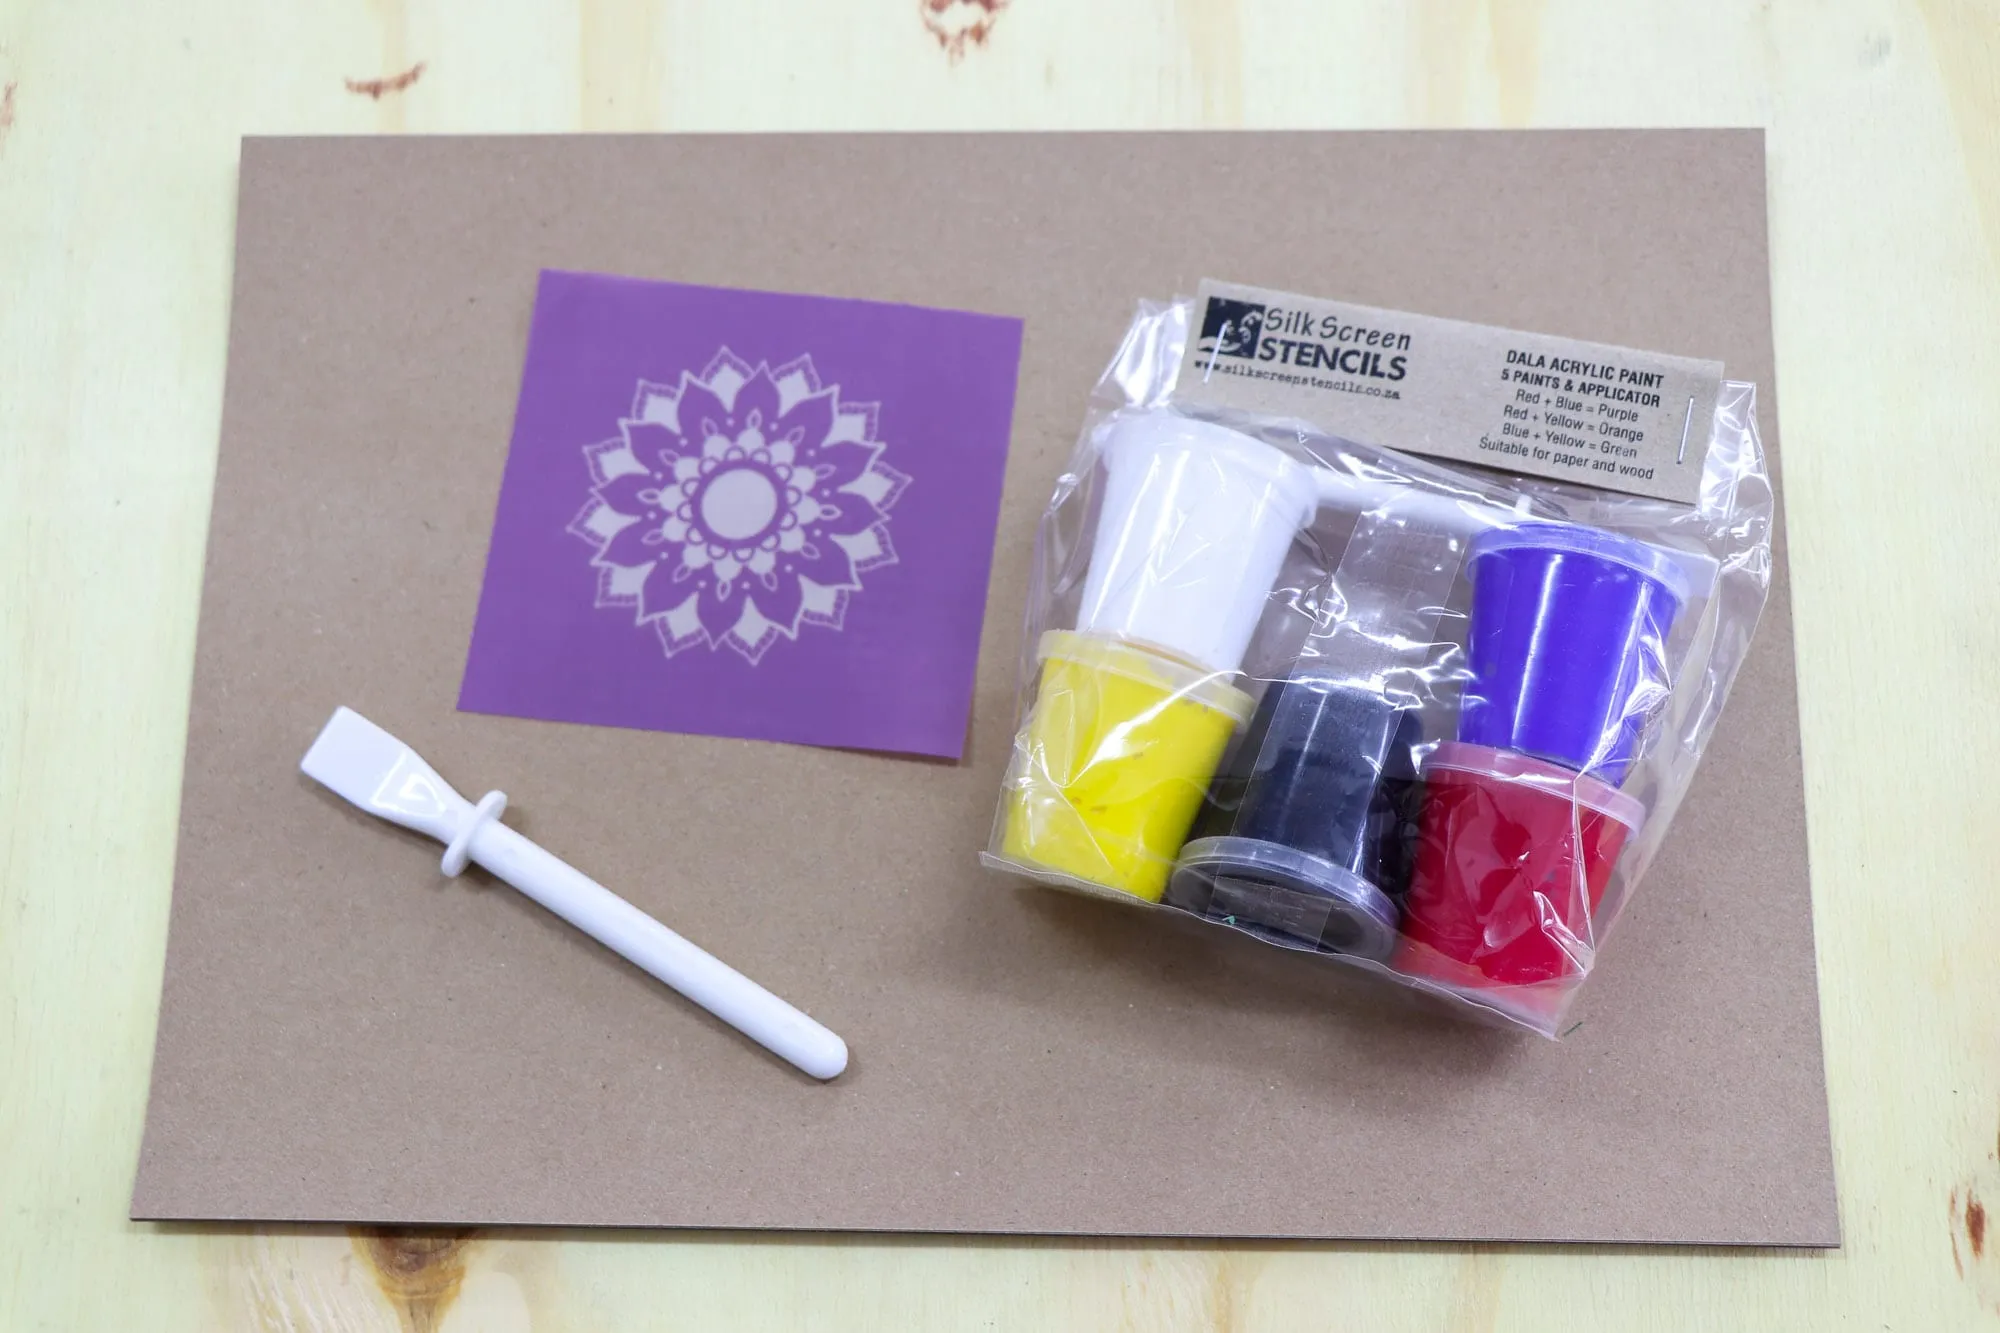
What You Need
SilkScreen Stencil
Smooth, flat surface
Appropriate paint
Paint applicator
Water
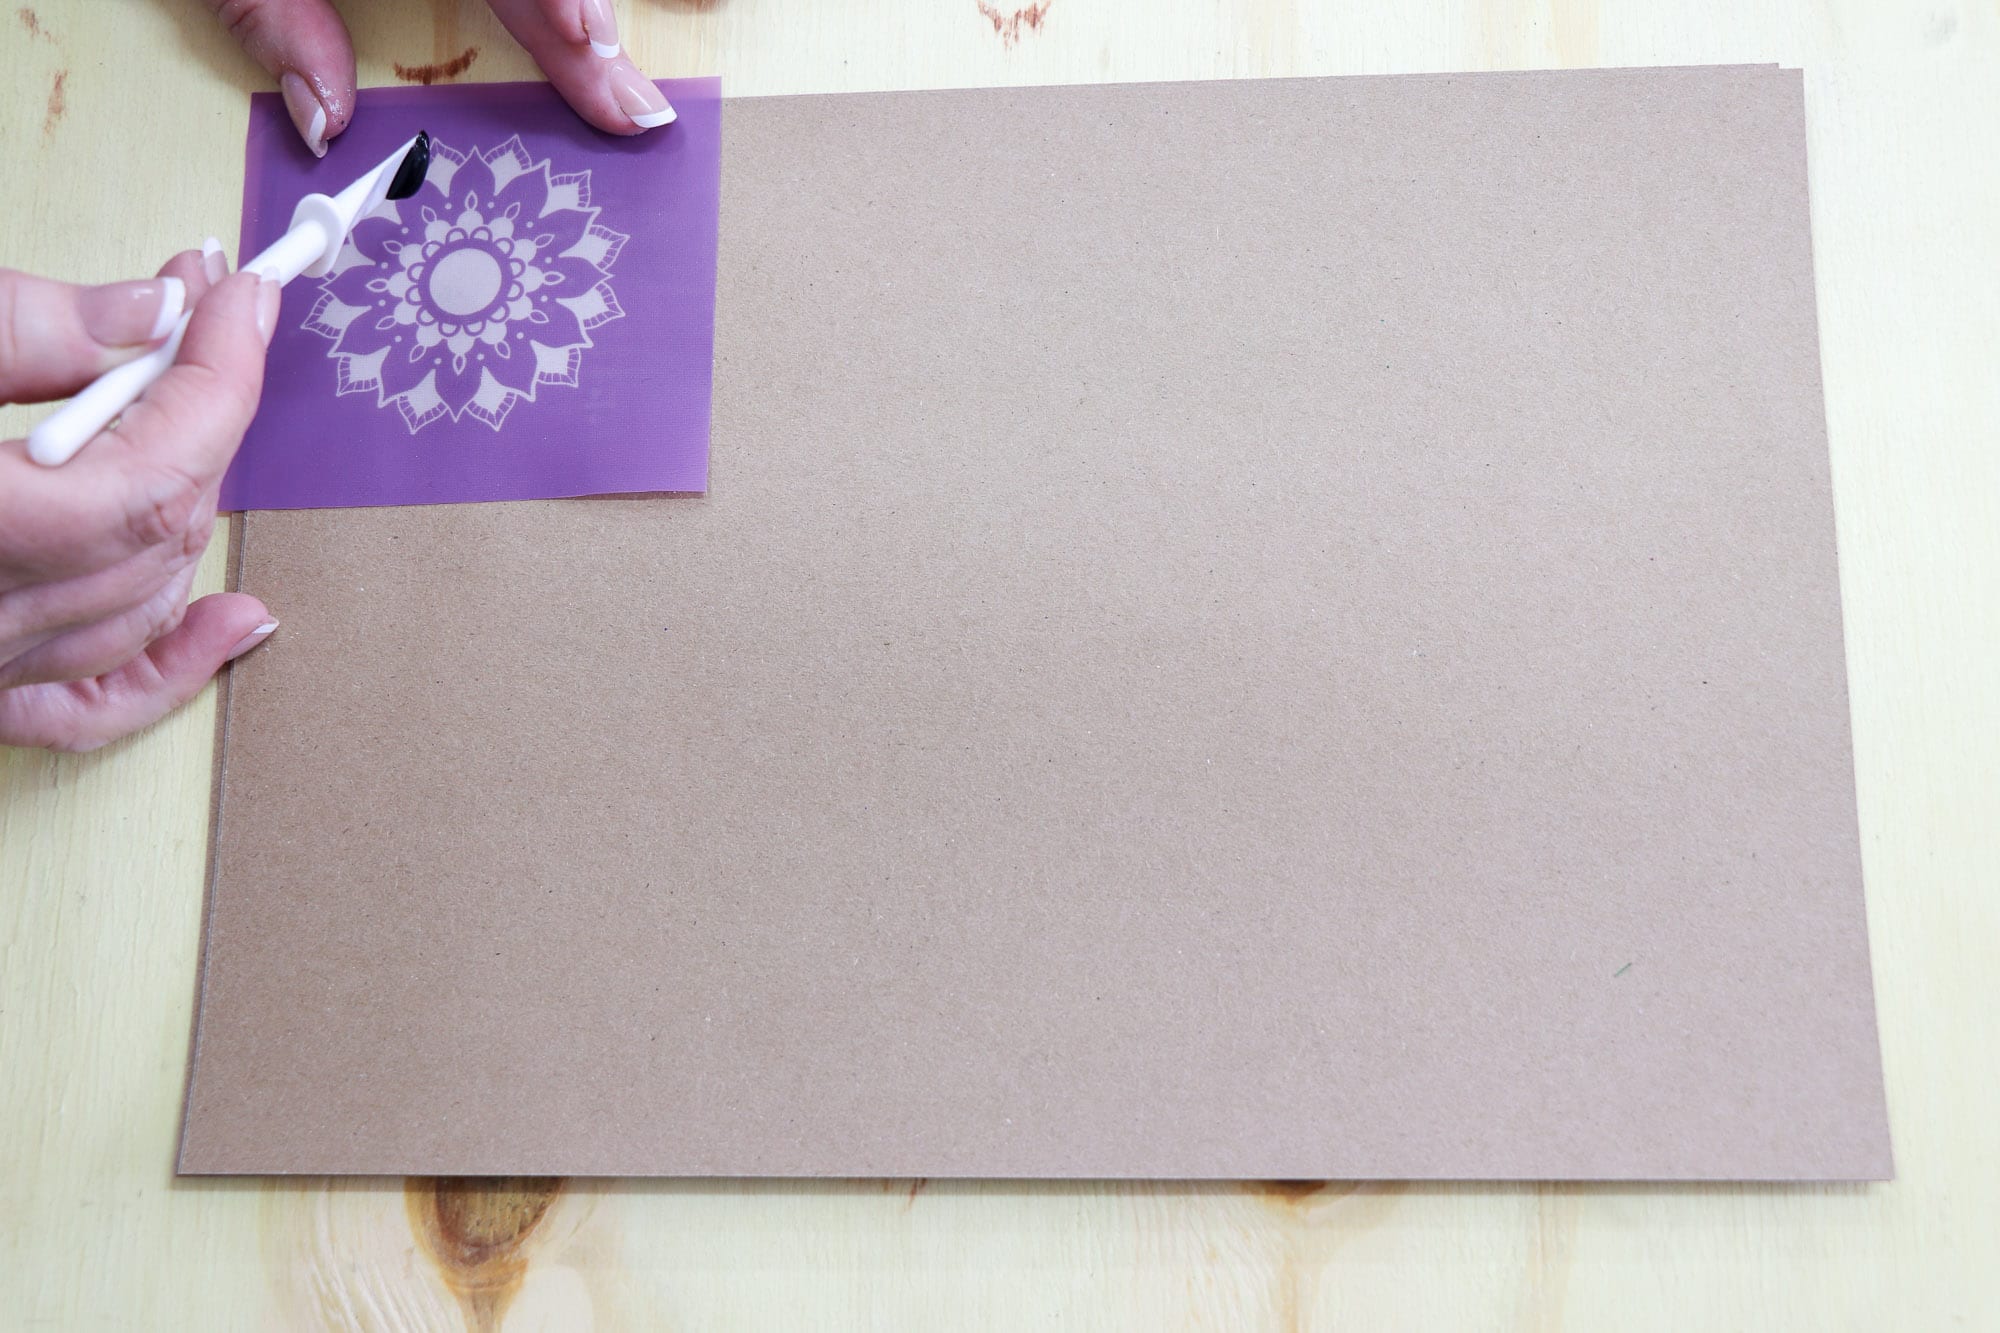
Step 1.
Hold stencil firmly in position. Scoop paint onto applicator and wipe paint over the stencil at a 45 degree angle.

Step 2.
Once you have covered the full image, scrape off excess paint and gently lift stencil. Place into position for the next print. Take extra paint if needed and repeat..

Step 3.
Continue until done or if it feels as if the paint is getting dry on stencil. If the paint dries on the transparent parts of the stencil it will not wash out and the stencil will be damaged.

Step 4.
Immediately wash stencil under tap water and wipe clean with a kitchen sponge. Dab off excess water with paper towel and let the stencil dry flat on a clean kitchen towel. Use again when completely dry.
What you need:
- A SilkScreen Stencil
- Dish with water
- Paint In general, we use acrylic, chalk, or fabric paint. For a more comprehensive list of surfaces and paints go to “paints and surfaces”.If your paint is too thin it will bleed under the stencil. To thicken your paint you can use acrylic thickener.Paint applicator Use a flat utensil, like a glue spreader or bank card, depending on the size of your design.If you are stencilling on a slightly uneven or rounded surface, rather use a flat brush.
- A surface to stencil on You can use your stencil on any smooth surface, provided that your paint is water based and thick. The page “application ideas” will give more details as to specific paints and surfaces.On absorbent surfaces you will be able to do multiple prints before washing your stencil.
Using your stencil:
Place the stencil flat, keeping it in position with 2 fingers. There is no need to mask it down unless you really want to or are working on a glossy surface. I would then use a spray adhesive to ensure that the stencil remains in place. It will also enable you to use both hands to stencil. This is especially helpful when working upright, or when working around a cylindrical shape.
Hold your applicator at an 45degree angle and wipe the paint across the stencil. Wipe once to apply paint, and once to remove excess paint. Do not use more paint than is needed.
While still holding the stencil in position you may lift a corner to see if the paint has been applied everywhere. If not, gently lower the corner again and apply paint to the missing parts only.
When done you can lift the stencil without moving it and position it on the next place you wish to stencil. You may repeat the process until you are done or until you can see the lines are starting to get fuzzy.
Designs with thin lines will take less prints than a stencil with thicker lines.
Thick paint may cause lines to go thinner as paint starts to dry, and thinner paint may start to bleed because there is too much paint on the stencil.
Caring for your stencil:
The durability of your stencil is totally dependant on how well you care for it.
You should never use your stencil without quick access to water. It is best to have a shallow dish close by to place your stencil in when done.
You may rinse your stencil either in tap water, or in lukewarm water with a bit of sunlight if you have left it for a while in the dish.
While holding the stencil flat in your hand, gently wipe both sides with a kitchen sponge. There should be no traces of paint inside the see-through parts.
Dab off excess paint and leave stencil to dry flat. You may also put it in the sun to dry faster.
Do not let 2 stencils dry on top of one another, they will stick together when dry. If this does happen, soak it in water for a while until the stencils separate easily.
Only use the stencil when it is 200% dry!
Store stencils flat and do not fold.